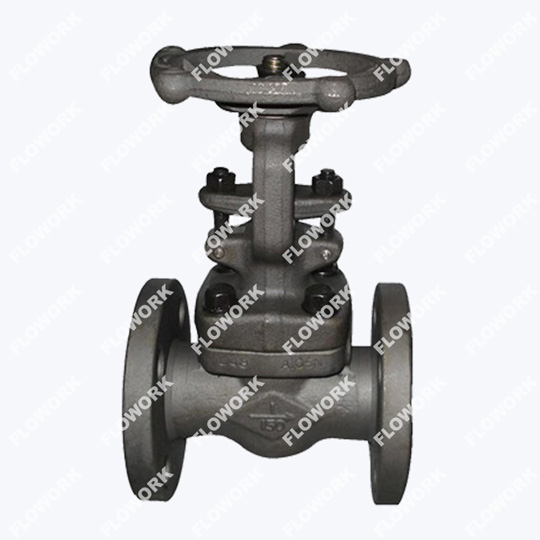

| Size: | DN50-DN1700 |
| Pressure: | PN16-PN250 |
| Body Material: | WCB, WC6, WC9, CF8, CF8M, CF3, CF3M, CN7M, LC1, LC2, LC3, LCB, LCC, Monel, 20# Alloys, 4A, 5A, C95800, C95500, A105, F304, F304L, F316, F316L, LF1, LF2, LF3, LF9, F51, F53, F11, F22, etc. |
| Seal Material: | STELLITE, 13Cr, SS304, SS316, etc. |
| Connection Type: | Flanged, Butt Welded, Socket Welded, NPT |
| Operation: | Handwheel, gear operated, pneumatic, motorized |
| Face to Face Dimension: | EN558-1/DIN3202 F4/ F5/F7/F15 |
| Flange End Dimension: | EN1092-1/DIN2545 |
| Design and Manufacture: | EN 1984/DIN3352 |
| Test Standard: | EN12266/DIN3230 |
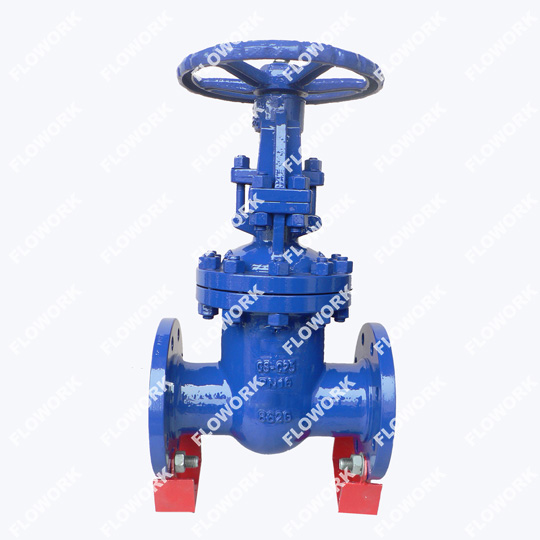
Approved by DIN standard, design and manufacture according to DIN standard
Compact structure, good rigidity, small fluid resistance, small opening and closing torque
With different series available, such as F5 series, F7 series, etc.
Stainless steel and hard alloy are used for sealing surface to ensure long service life
Widely used in chemical, thermal, power plants, and other oil and steam pipeline
Flexible graphite packing, high sealing performance
Available with flexible wedge and solid wedge; hand wheel, gear, pneumatic actuator, electric actuator, etc.
Valve gate injection molding is a process used in plastic injection molding that involves the use of a specialized type of hot runner system to control the flow of plastic into the mold cavity, ball valve manufacture.
In traditional injection molding, the plastic material is injected into the mold cavity through a series of nozzles or gates that are connected to the runner system. Once the plastic has filled the mold cavity, the gate is then frozen or solidified, and the part is ejected from the mold.
With valve gate injection molding, the hot runner system includes individual valve gates that are positioned directly at each gate location in the mold cavity. The valve gates are designed to control the flow of plastic into the mold cavity by opening and closing precisely and quickly, gate valve manufacture.
This allows for better control over the filling of the mold cavity and can result in higher quality parts with improved dimensional accuracy and reduced waste. Valve gate injection molding is often used for high-precision parts or parts that require specific gating configurations, such as multi-cavity molds or parts with complex geometries.
Installing a water gate valve involves a few basic steps:
Turn off the water supply: Before you begin, turn off the main water supply to the area where you will be installing the valve. This will prevent water from flowing while you work.
Choose the location: Determine where you want to install the valve. This is typically at a point in the water line where you want to be able to control the flow of water.
Cut the water line: Use a pipe cutter or hacksaw to cut the water line where you want to install the valve. Be sure to measure and mark the location carefully to ensure a proper fit, bronze valve.
Prepare the ends of the pipes: Use sandpaper or a pipe reamer to smooth and clean the ends of the pipes where the valve will be installed. This will help ensure a tight seal.
Install the valve: Attach the valve to the pipes using the appropriate fittings (solder, compression, or threaded). Be sure to follow the manufacturer's instructions for the specific type of valve you are installing.
Turn the water back on: Once the valve is securely installed, turn the main water supply back on and check for any leaks. If everything is secure, turn the valve handle to open or close the valve and control the flow of water.
It is important to follow all safety precautions and manufacturer's instructions when installing a water gate valve. If you are not comfortable with this type of installation, it may be best to consult a licensed plumber.To measure the size of a gate valve, you need to determine the diameter of the valve's opening or "port." Here are the steps to follow:
1. Identify the valve's nominal size: Look for the nominal size of the valve, which is typically marked on the valve body or in the valve documentation. The nominal size is the size of the pipe that the valve is designed to fit onto, api 6d ball valve.
2. Measure the valve's flange diameter: If the valve has flanges, measure the diameter of the flanges using a caliper. The flange diameter is the outer diameter of the flange, and is typically slightly larger than the port diameter.
3. Measure the valve's port diameter: If the valve does not have flanges, measure the inside diameter of the valve body where the fluid flows through using a caliper. This will give you the port diameter.
Once you have determined the valve's port diameter or flange diameter, you can use this measurement to select the appropriate size of pipes and fittings to connect the valve to your system. It is important to note that the size of the valve should always match the size of the pipe it is being installed on, to ensure proper flow and function of the system, forged ball valve.
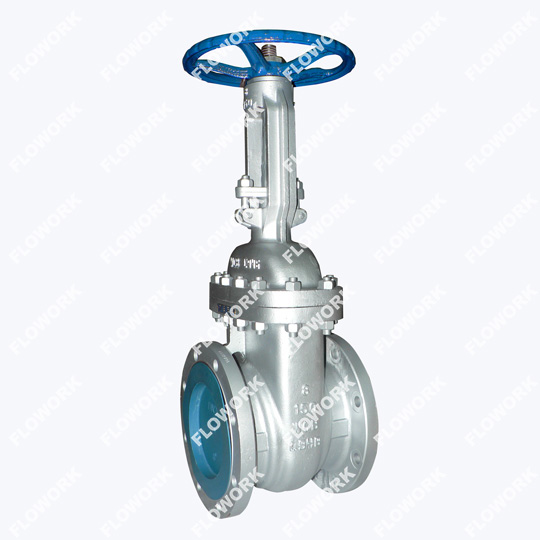
A rising stem gate valve works by using a threaded stem that moves the gate up or down to control the flow of fluid through the valve. The gate is a flat or rectangular-shaped plate that slides up and down between two parallel seats inside the valve body. When the valve is fully open, the gate is lifted all the way up to allow maximum flow of fluid through the valve. When the valve is fully closed, the gate is pushed down against the lower seat to block the flow of fluid completely, carbon steel gate valves.
The stem of the valve is attached to the gate and moves up and down as it is turned by the valve handle. As the stem is turned, it threads in and out of the valve body, causing the gate to move up or down. The stem is connected to the gate by a gate nut, which is a threaded collar that fits over the stem and engages with the gate. When the stem is turned in a clockwise direction, the gate nut moves down, causing the gate to move down and block the flow of fluid. When the stem is turned in a counterclockwise direction, the gate nut moves up, causing the gate to move up and allow the flow of fluid.
The stem of a rising stem gate valve protrudes above the valve body, which makes it easy to visually determine whether the valve is open or closed. When the valve is fully open, the stem is lifted all the way up, and when the valve is fully closed, the stem is pushed all the way down. The position of the stem indicates the position of the gate, which allows the operator to determine the state of the valve at a glance, high temperature gate valves.
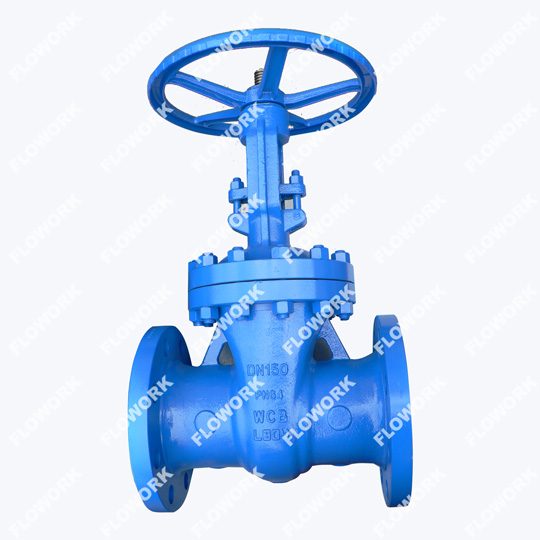
A gate valve typically consists of a valve body, bonnet, stem, gate, and seats. The valve body is the main part of the valve and contains the inlet and outlet ports. The bonnet is attached to the top of the valve body and provides a seal for the stem.
The stem is the part that connects the gate to the actuator, which is used to raise or lower the gate. The gate is a flat or wedge-shaped barrier that can be raised or lowered to control the flow of fluid through the valve. The seats are located on either side of the gate and provide a seal when the valve is closed.
Gate valves can come in a variety of shapes and sizes, but they generally have a cylindrical shape with flanged ends for easy installation. The gate itself can be flat or wedge-shaped, depending on the specific application and the manufacturer's design.
Gate valves can also be made from a variety of materials, such as cast iron, bronze, brass, or stainless steel, depending on the intended use and the properties of the fluid being transported.
There can be several reasons why an OSY (outside screw and yoke) gate valve may leak:Stem Packing Wear: The packing material around the valve stem can wear out over time due to exposure to high pressure or temperature, causing the valve to leak. This can happen when the valve is frequently opened and closed, which can cause the packing to deteriorate more quickly. Corrosion: Corrosion can occur in the valve body or on the stem due to exposure to corrosive fluids or environmental factors. This can lead to the formation of small holes or cracks in the valve, which can cause leaks. Misalignment: If the valve components are not aligned correctly, it can cause the valve to leak. This can happen if the valve was not installed properly or if there is damage to the valve components. Manufacturing Defects: Sometimes, a valve may have manufacturing defects that cause it to leak. These defects can include issues with the valve body, the valve stem, or the sealing surfaces. It's essential to identify the cause of the leak and take appropriate action to fix the problem. Regular maintenance and inspection of the valve can help prevent leaks and ensure reliable operation.
Send us a message if you have any questions or request a quote.

A reply from our experts within 24 hours
The latest detailed product catalugue
One-stop service for your project